Introduction
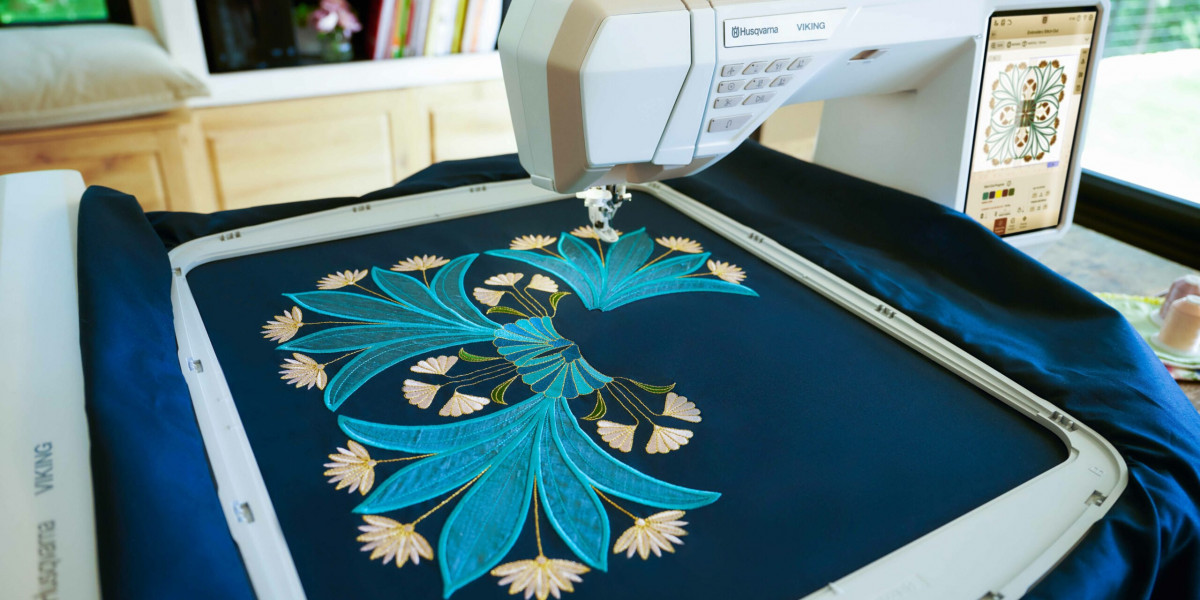
Want to turn your favorite photo or logo into an embroidered masterpiece? Convert JPG To PES file (the format Brother embroidery machines use) might seem tricky, but it's easier than you think. Whether you're a hobbyist or small business owner, this guide will walk you through the entire process—from choosing the right software to troubleshooting common issues.
By the end, you'll know exactly how to transform any JPG into a high-quality PES file ready for stitching.
Why Convert JPG to PES?
Before we dive into the how, let's look at why this conversion matters:
Machine Compatibility – Brother machines (and some others) require PES files
Stitch Accuracy – PES files preserve design details better than images
Customization – You can edit stitch types, densities, and colors
Professional Results – Avoid pixelated or distorted embroidery
Simply put: If you want to embroider an image, you need to convert it first.
What You'll Need
To convert JPG to PES, you'll need:
Source Image (High-quality JPG/PNG works best)
Digitizing Software (Free or paid options available)
Embroidery Machine (That reads PES files)
Basic Computer Skills
Method 1: Using Dedicated Digitizing Software
Step 1: Choose Your Software
Popular options include:
Wilcom EmbroideryStudio (Professional-grade)
Hatch Embroidery (Great for beginners)
Embird (Mid-range option)
SewArt (Auto-digitizing focus)
Step 2: Import Your JPG
Open your software and:
Select "New Design" or "Import Image"
Choose your JPG file
Adjust size/resolution if needed
Step 3: Digitize the Image
This is where you turn pixels into stitches:
Use auto-digitizing tools for simple designs
Manually trace complex elements for better results
Set stitch types (satin, fill, running)
Assign thread colors
Step 4: Export as PES
Once satisfied:
Go to "File > Save As"
Select PES format
Choose the right machine version
Pro Tip: Always test stitch on scrap fabric before final use!
Method 2: Online Conversion Tools
If you don't want to install software, try these web-based options:
Embroideres.com (Simple auto-conversion)
StitchBuddy (Web-based digitizer)
SewWhat-Pro (Limited free conversions)
How it works:
Upload your JPG
Adjust basic settings
Download PES file
Warning: Online tools often produce lower quality than professional software.
Method 3: Free Software Options
Budget-friendly alternatives:
Ink/Stitch (Inkscape extension)
Free vector-to-embroidery converter
Steeper learning curve
MyEditor (Brother's free basic editor)
Limited but gets the job done
SewArt Demo (Trial version available)
Common Problems & Solutions
Issue 1: Blurry or Pixelated Results
Fix:
Start with higher resolution images (300+ DPI)
Manually clean up edges in digitizing software
Issue 2: Too Many Stitches
Fix:
Reduce stitch density in software
Simplify complex areas
Issue 3: Colors Don't Match
Fix:
Manually assign thread colors
Use machine's color palette as reference
Issue 4: Machine Won't Read File
Fix:
Ensure you've selected correct PES version
Try saving as PES v1 instead of PES v2
Pro Tips for Best Results
Start Simple – Begin with bold, high-contrast images
Clean Your Image First – Remove backgrounds in Photoshop/GIMP
Less is More – Avoid tiny details that won't stitch well
Test Multiple Times – Stitch small sections to check quality
Learn Basic Digitizing – Even auto-tools need tweaking
Frequently Asked Questions
Can I convert JPG to PES for free?
Yes, using Ink/Stitch or trial software, but paid options give better results.
How long does conversion take?
Simple designs: 10-30 minutes
Complex artwork: 1+ hours
Why does my PES file look different from my JPG?
Embroidery has limitations—some details don't translate perfectly to stitches.
Can I edit the PES file after conversion?
Yes, in embroidery software, but it's easier to edit before exporting.
Final Thoughts
Converting JPG to PES opens up endless creative possibilities—from personalizing gifts to creating custom merchandise. While the process requires some learning, today's tools make it accessible to everyone.
Remember:
✔ Start with quality source images
✔ Choose the right software for your needs
✔ Always test before stitching final products
Now that you know how to turn images into embroidery files, what will you create first?
